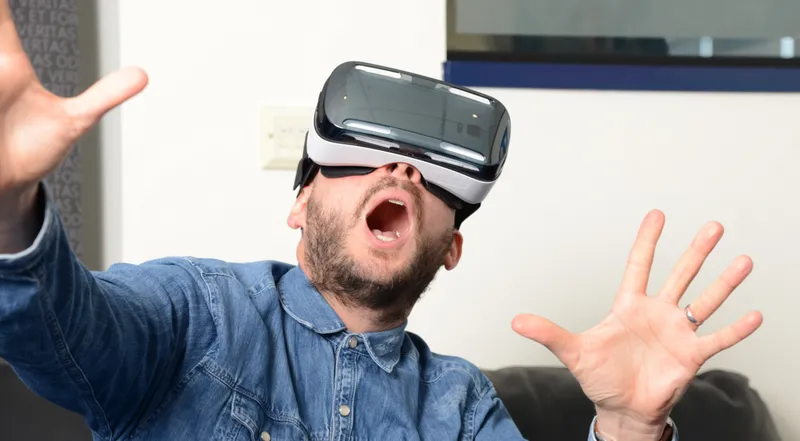
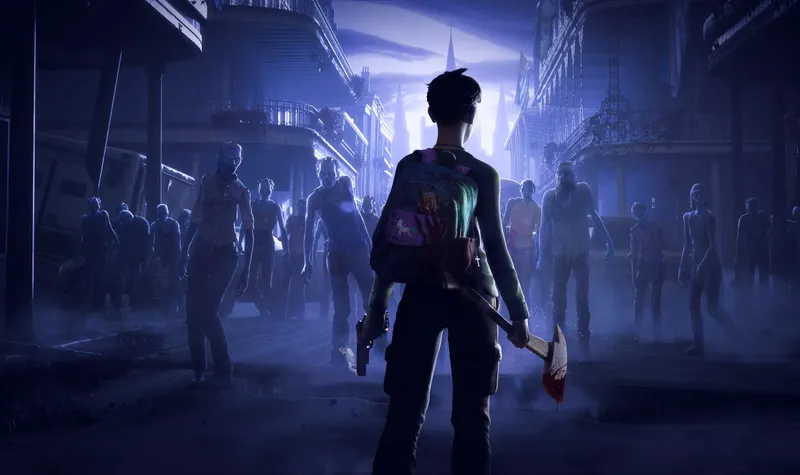
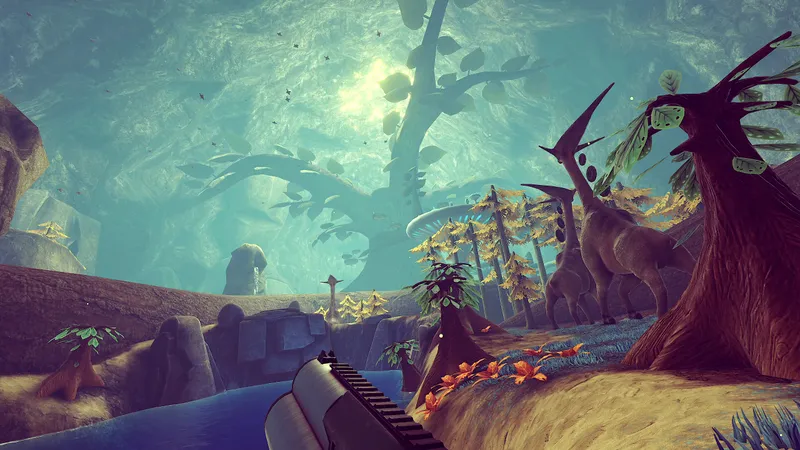
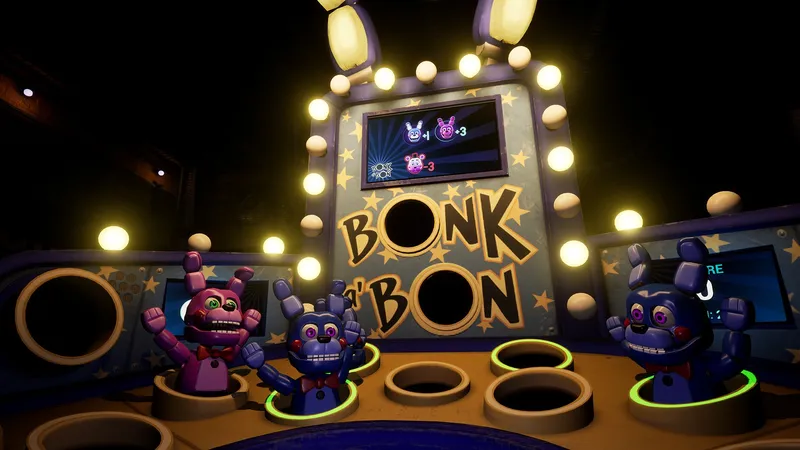
Over the weekend a friend was getting particularly animated fighting monsters in The Brookhaven Experiment, so I started recording the first-person gameplay footage on my PC while simultaneously filming with my iPhone 6S.
Her reactions turned out fantastic and my Vive room is outfitted with a green screen, so I knew I had a fun moment I could edit together. One $3 iPhone app later and I was able to combine the green screen footage with gameplay and created the below video. WARNING: There’s some NSFW language.
https://www.youtube.com/watch?v=QocMv4HyB1Q
There are a lot of people with iPhones out there and this is a cheaper option than Adobe Premiere, and much cheaper than buying a capture card and Webcam to do proper mixed reality capture. It might not look as cool as mixed reality, but it’s also far easier to do.
Read More: How To Record A Mixed Reality Video
That said, the Green Screen app looks like it supports a foreground layer of video so it might actually be possible to make a mixed reality video using an iPhone. I’ll test that later. For now, below is what you need to record a video like the one in this post. Also, if you know an Android app with similar green screen functionality email ian@uploadvr.com or leave a comment.
Step 1: What You Need To Get Started
- iPhone
- VR-Ready PC
- Rift or Vive
- Green Screen ($15) or solid color background
- Green Screen by Do Ink ($3)
- Simple Transfer (Free)
- OBS (Free) or similar PC screen capture software
Step 2: Set Up
Put up the green screen/background and if you can get bright light on the green screen it will help make it easier to remove. Set up OBS or your capture software to record the first-person perspective from the VR game you’re going to play, as well as audio from the internal microphone on the Vive or Rift. In my testing, OBS did this automatically for the Vive. OBS will record first-person gameplay footage and the iPhone will collect footage of real-world movement set against the green screen.
Step 3: Start Recording And Clap
Hit record on the iPhone and OBS around the same time. Ideally, you could put the camera down and then clap loudly in front of it so that you’ve got a good audio/visual reference point you can see and hear in the clips — the step that took the most time producing my test video was getting two video clips synced up. Keep the iPhone steady while recording and the green background filling the iPhone’s screen at all times. You can see in the clip above there were a few moments where the sides beyond the green screen crept in. Stop recording when you’re done.
Step 4: Transfer Gameplay Footage To iPhone
The Simple Transfer app works well for me to transfer a video file from PC to iPhone. You just make sure both devices are on the same Wi-Fi network and then open up the app on your phone. It’ll give you an address to visit using a Web browser on your PC so that you can select a video and upload it to your phone.
If you try to keep your capture sessions relatively short the video transfer shouldn’t take too long.
Step 5: Trim And Prepare Clips
You should have two clips on your phone now, one from inside VR and one using the camera. Inside the Photos app you can trim off front ends of each clip so that you have a pair of new clips that both s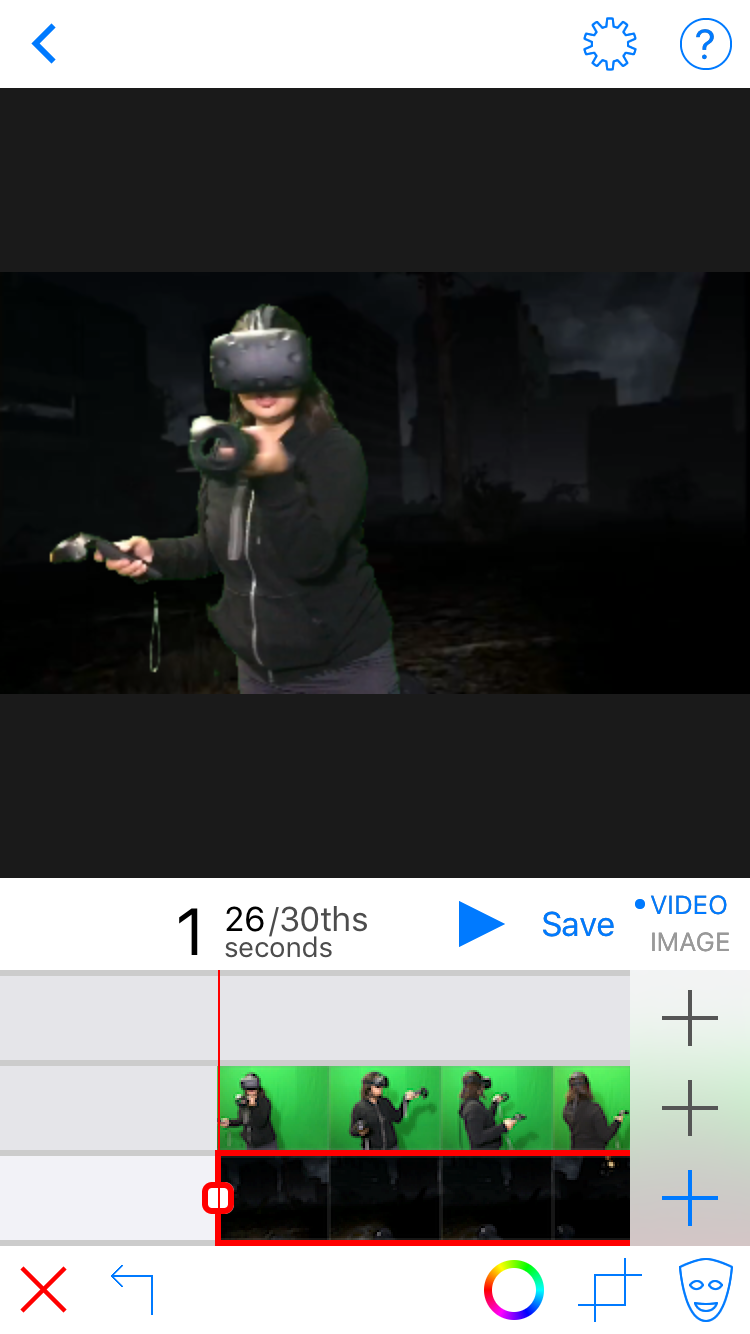 tart the moment you clapped your hands together. The above screenshot shows the trim controls in the Photos app.
Step 6: Combine Clips And Export
Assuming the footage from VR and the iPhone clip start at the exact same moment, you just have to open up the Green Screen app and hit the plus sight next to the middle and bottom layers to add each of your video clips. If you need to crop either of the clips you can use the crop tool down at the bottom. The app also lets you adjust which color it removes, so if you have a background that isn’t green you can change it. When you’re done hit save. You can change the resolution of the projects in settings up to 1080P. You should now have a VR gameplay video combined with real-life movements saved on your iPhone.


